
Toes are the fiddliest things to put bandaids on. Especially when your blister is around the end of your toe. In this video, you'll learn 3 ways to apply tip of toe island dressings neatly, so they stay there all day, and don't cause any irritation.
When tip of toe island dressings go wrong
One of two things usually happen. Either:
- You end up with a bulky bit like this that can irritate the next toe and even cause blisters.
- Or your dressing just comes off too easily
Either way, it’s a mess.


What is an island dressing?
But first, what is an island dressing? An island dressing is simply a dressing that has an island of absorbent, non-stick material in the middle, surrounded by an ocean of adhesive. They’re great because they protect your blister roof from sand and grit, they keep germs out and they maintain a moist wound environment which is what you need for fast blister healing.
The video above shows you a bunch of dressings. Can you pick which ones are island dressings, and which ones are not? The good news is, you can turn non-island dressings into island dressings if you just put a piece of tape on each open end to close them in. This is important to stop infection.
3 Steps to applying a dressing to the tip of your toe, neatly
So here are my three steps to making a neat job of applying these dressings to a blister at the tip of your toe.
Step 1 is to make sure the width of the island is the same as the width as your toe. Any bigger and you’ll end up creases and dog ears up here that might irritate the toe or the toe next to it. So match that up before you start.
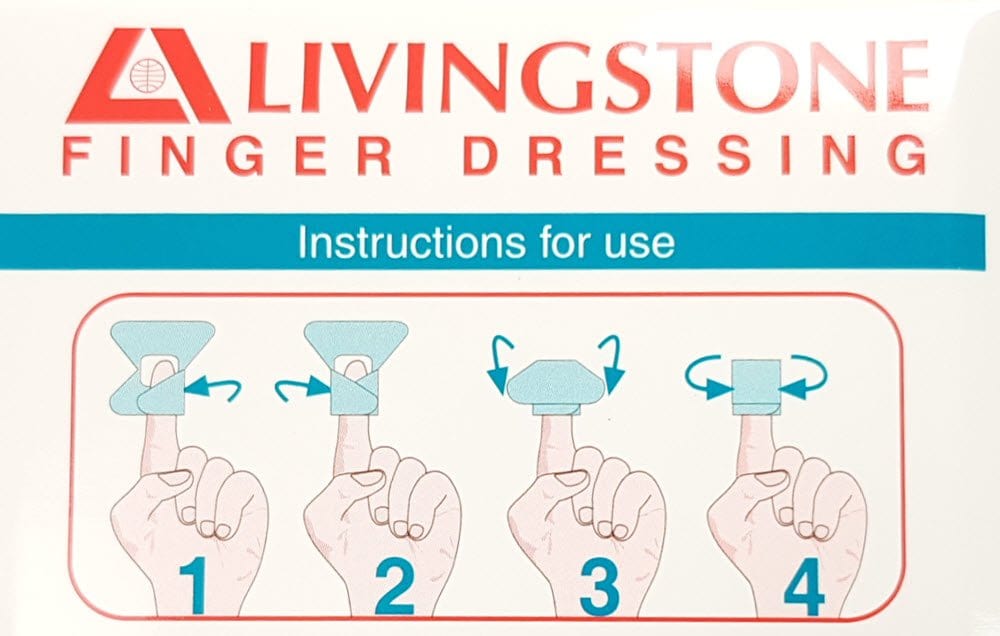
Step 2 is to make a couple of these clever little snips in the tape at the top on each side so you can lay these bits down nice and neatly. So that’s two snips on this side, one at the top and one at the bottom. And the same on the other side. See how neatly it lays down. No creases, no dog ears and no bulky bits.
And Step 3 is to put some tape around the toe to lock in these edges. Otherwise, it will come off way before you want it to and end up at the end of your shoe. I like to make the ends meet at the top. That way, they’re less likely to catch if your toe does a lot of gripping – I mean we don’t want an edge to come loose.
Bonus tip
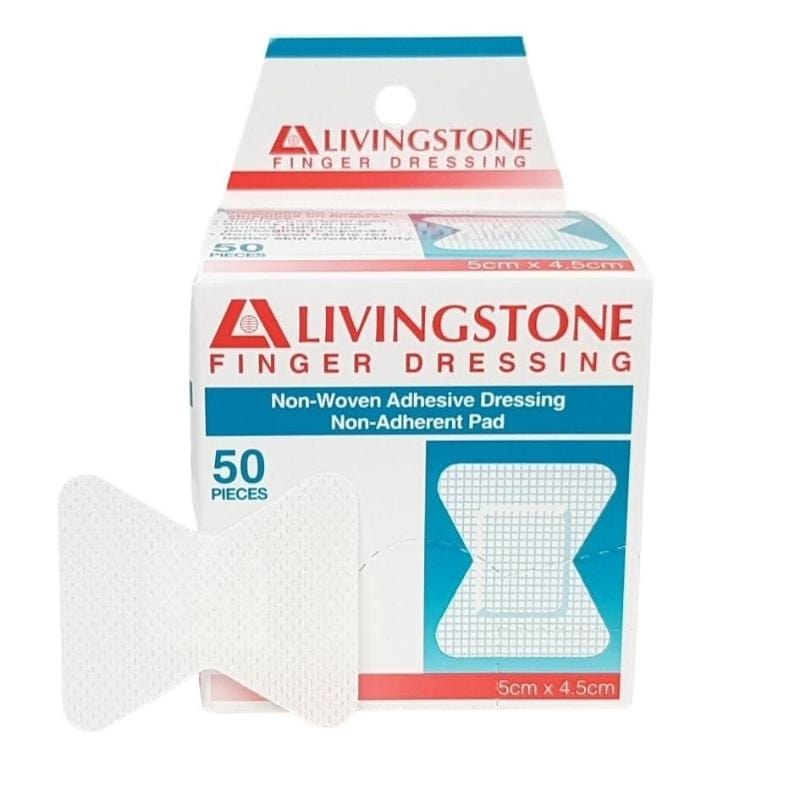
I use island dressings shaped like little bow ties. They’re perfect for the tip of the toe and just about any blister on your smaller toes. Sometimes I put a single snip on each side, right in the middle, but I often don’t have to. I’ve got 12 of these little bow tie dressings in the Ultra Blister Kit – they’re actually called finger dressings. I use them every day in my clinic because they make toe dressings so much quicker and easier. I like these ones in particular because the tape is like Fixomull – it’s thin and stretchy. Others I’ve seen aren’t stretchy or they don’t stick very well, so you might need to experiment a little to see what you can find. You don’t need them. But at the same time, I like them a lot.
Wrapping up
When you need an island dressing for a blister on your toe, especially the tip of the toe
- No 1: Match up the width of the island with the width of your toe.
- No 2: Snip the dressing twice on each side to get it to lay down neatly at the tip of the toe
- No 3: Lock in all the edges to ensure it stays there all day long
- And don’t forget my bonus tip, if you can find some of those funny bow tie shaped dressings they can make things even easier.

